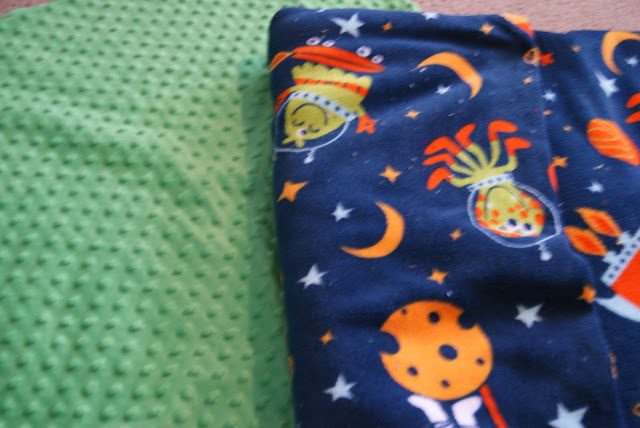
 |
| I used two pieces, each 1 yard in length I believe |
Items needed:
two pieces of fleece the same size
measurimg tape
sissors
4x4 inch piece of paper
- Take your two pieces of fleece. Put one piece on top of the other. lining up the edges so they are even. (one side will be the front and the other side will be the back of your blanket)
- Trim off any selvage around the edges of your fleece (try not to cut in more than 2 inches) * Remember you need to try to cut straight, but it doesn't have to be.
- Take your piece of 4"x4" paper lay it on the corner of your blanket. Then cut out the corner through both layers. Proceed to do this on all four corners.
- Now you are ready to cut your fringes. Cut 4 inches into both fleeces at 1" wide. I found it easier to lay a tape measure across from the corner of the cut out corner to the other.
- Your fringes don't need to be 1" exactly, just try to keep them the same
size.(You don't want to have one fringe 1" and the next one 2".)
Proceed to cut 1" intervals on all four sides. - Starting on one side, tie over hand knots (using one fringe from each fleece.) Tie these knots on every other fringe around the entire blanket.
- Then flip the whole blanket over and tie the remaining knots until your blanket is complete. (This helps your knotted ends look perfect)
- Some prefer to only tie one knot, but I like to double knot them. This helps them from coming untied especially in the wash.
http://www.allkindsofbabystuff.com/no_sew_fleece_blankets.html
These are great gifts to give andcan be so fun with so many different color and pattern combinations!


No comments:
Post a Comment